Whether you're a gamekeeper or a farmer, keeping control of the predators on your patch is of paramount importance if you want things to run smoothly. Exactly what those animals are and how you go about managing them will vary depending on which country you're in. On the larger continents, the list can be quite extensive, but in the UK it essentially means foxes.
There are five basic methods used for gamekeeper - guns, poison, traps, deterrence and access prevention. This article will examine the first - using firearms of one kind or another. It is probably no exaggeration to say that this aspect has changed more over the last twenty years than over the previous two hundred. For although rifles and shotguns did evolve a little during that time, not much else changed. The onset of modern technology has radically altered the picture though - with the likes of night vision and thermal imaging leading the way.
Gone are the days of lugging a heavy car battery around while trying to lamp foxes. Instead, a lightweight NV or thermal riflescope will run all night on a single torch-sized battery. Alongside such gun-mounted paraphernalia, there are all sorts of other pieces of equipment that can make the busy fox controller's life easier. These range from hand-held spotters, again using NV or thermal technologies, to electronic fox callers, trail cameras – some of which can send you photos via your mobile 'phone, and even radar chronographs designed to measure bullet velocities.
Of all these, the ability to find your quarry in complete darkness or in places thick with obstructions like tree branches has made the most radical difference. For anyone new to the world of high tech optical devices, there are basically two categories - spotters and riflescopes. The former - comprising thermal or night vision systems (or even both combined) are used to identify the location of potential targets, while the latter are used to actually aim the gun.
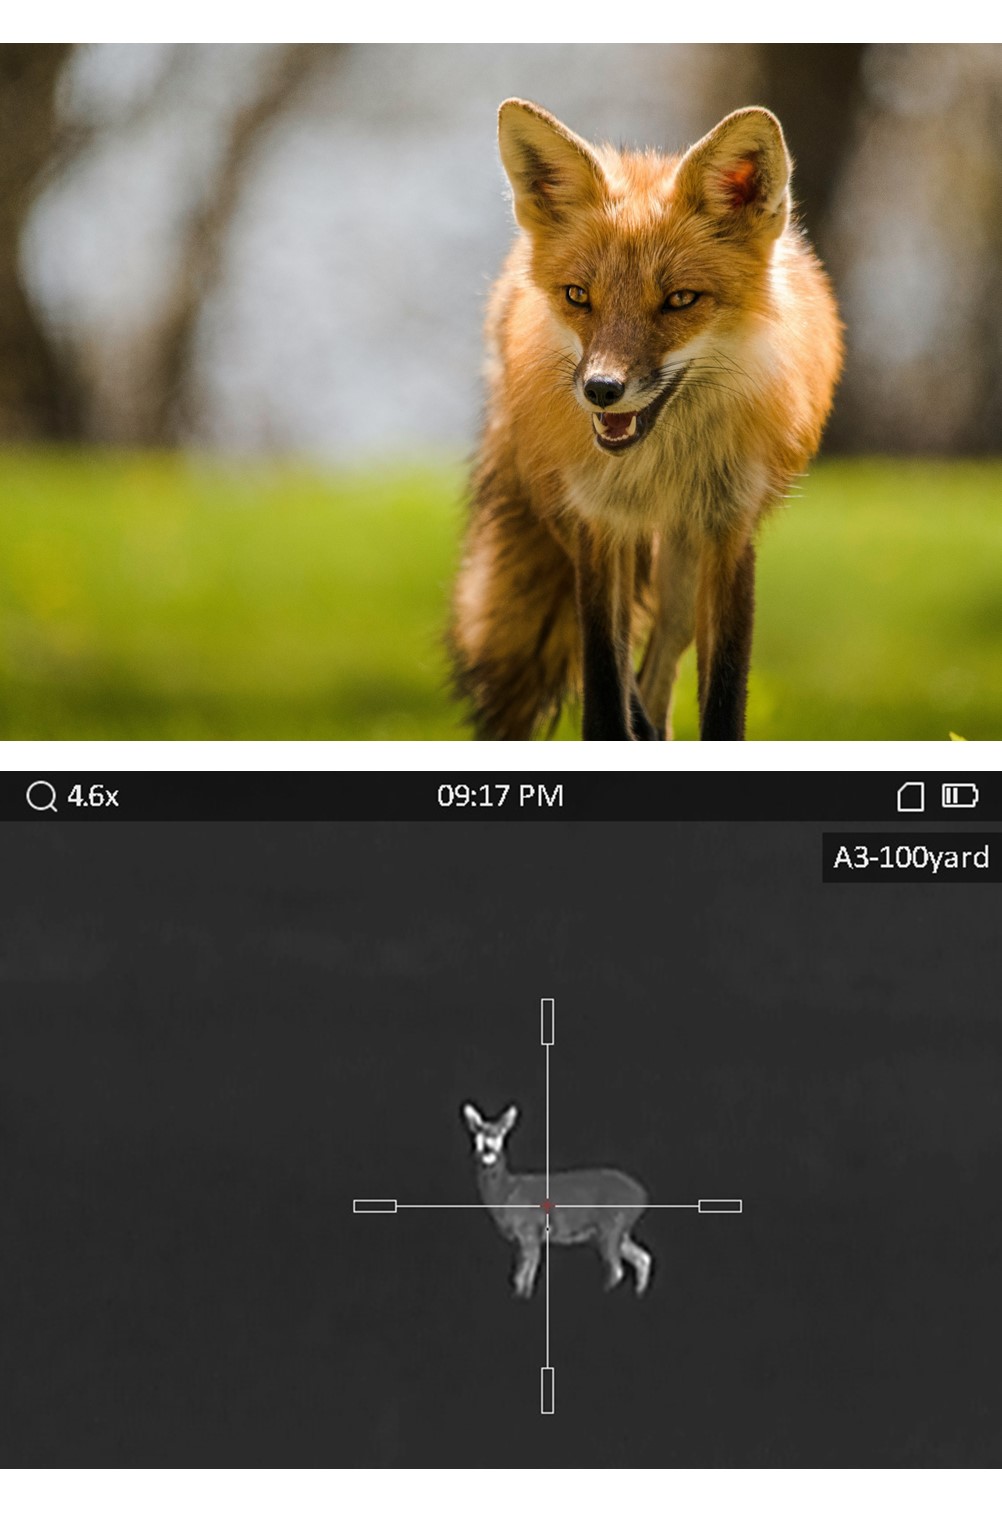
One vital point needs to be made here - for important safety reasons, a loaded rifle should never be used for scanning a given landscape; that should only ever be done with a spotter. Once a potential target has been seen, the next stage is to confirm its identity through the riflescope before the safety catch is actually released.
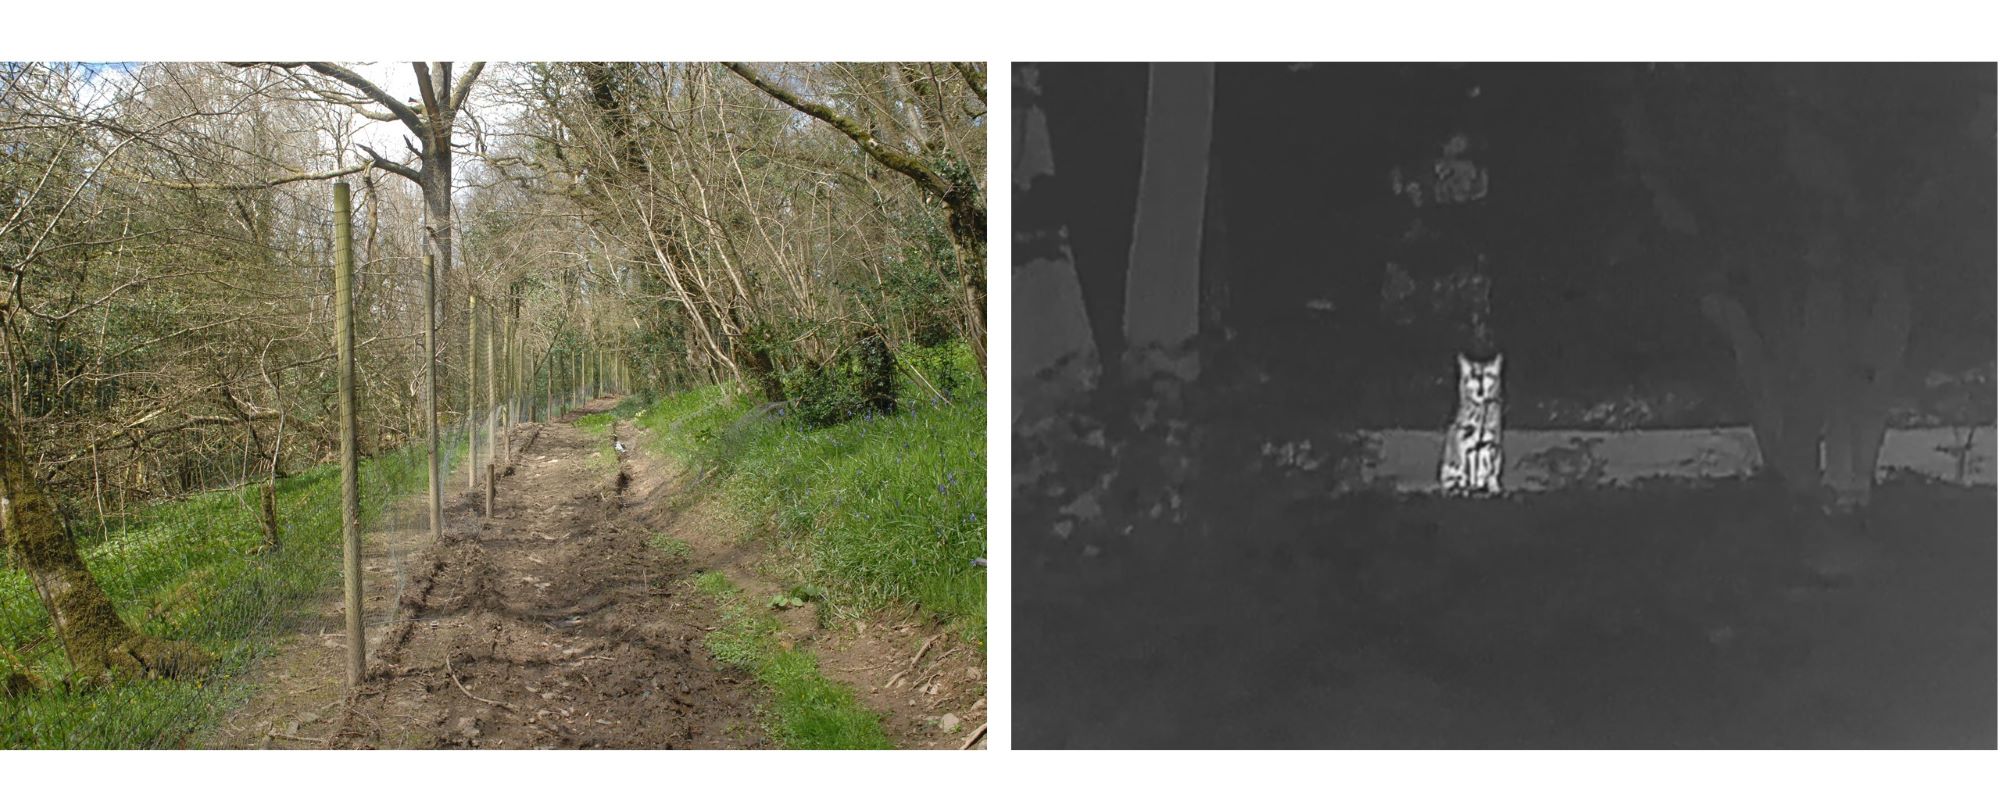
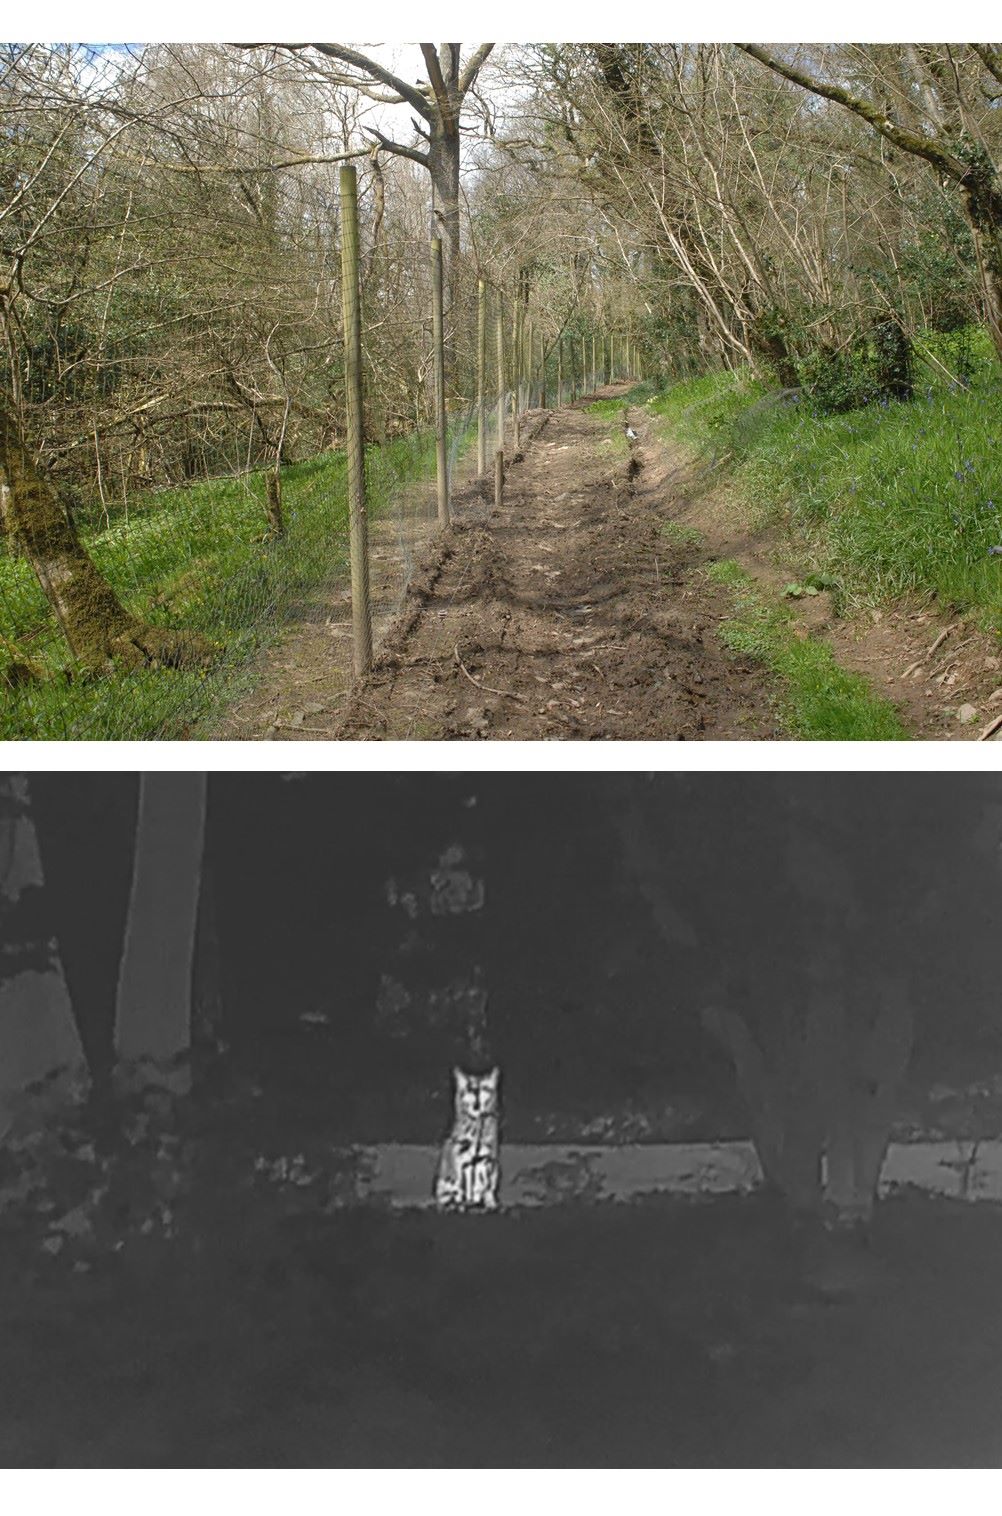
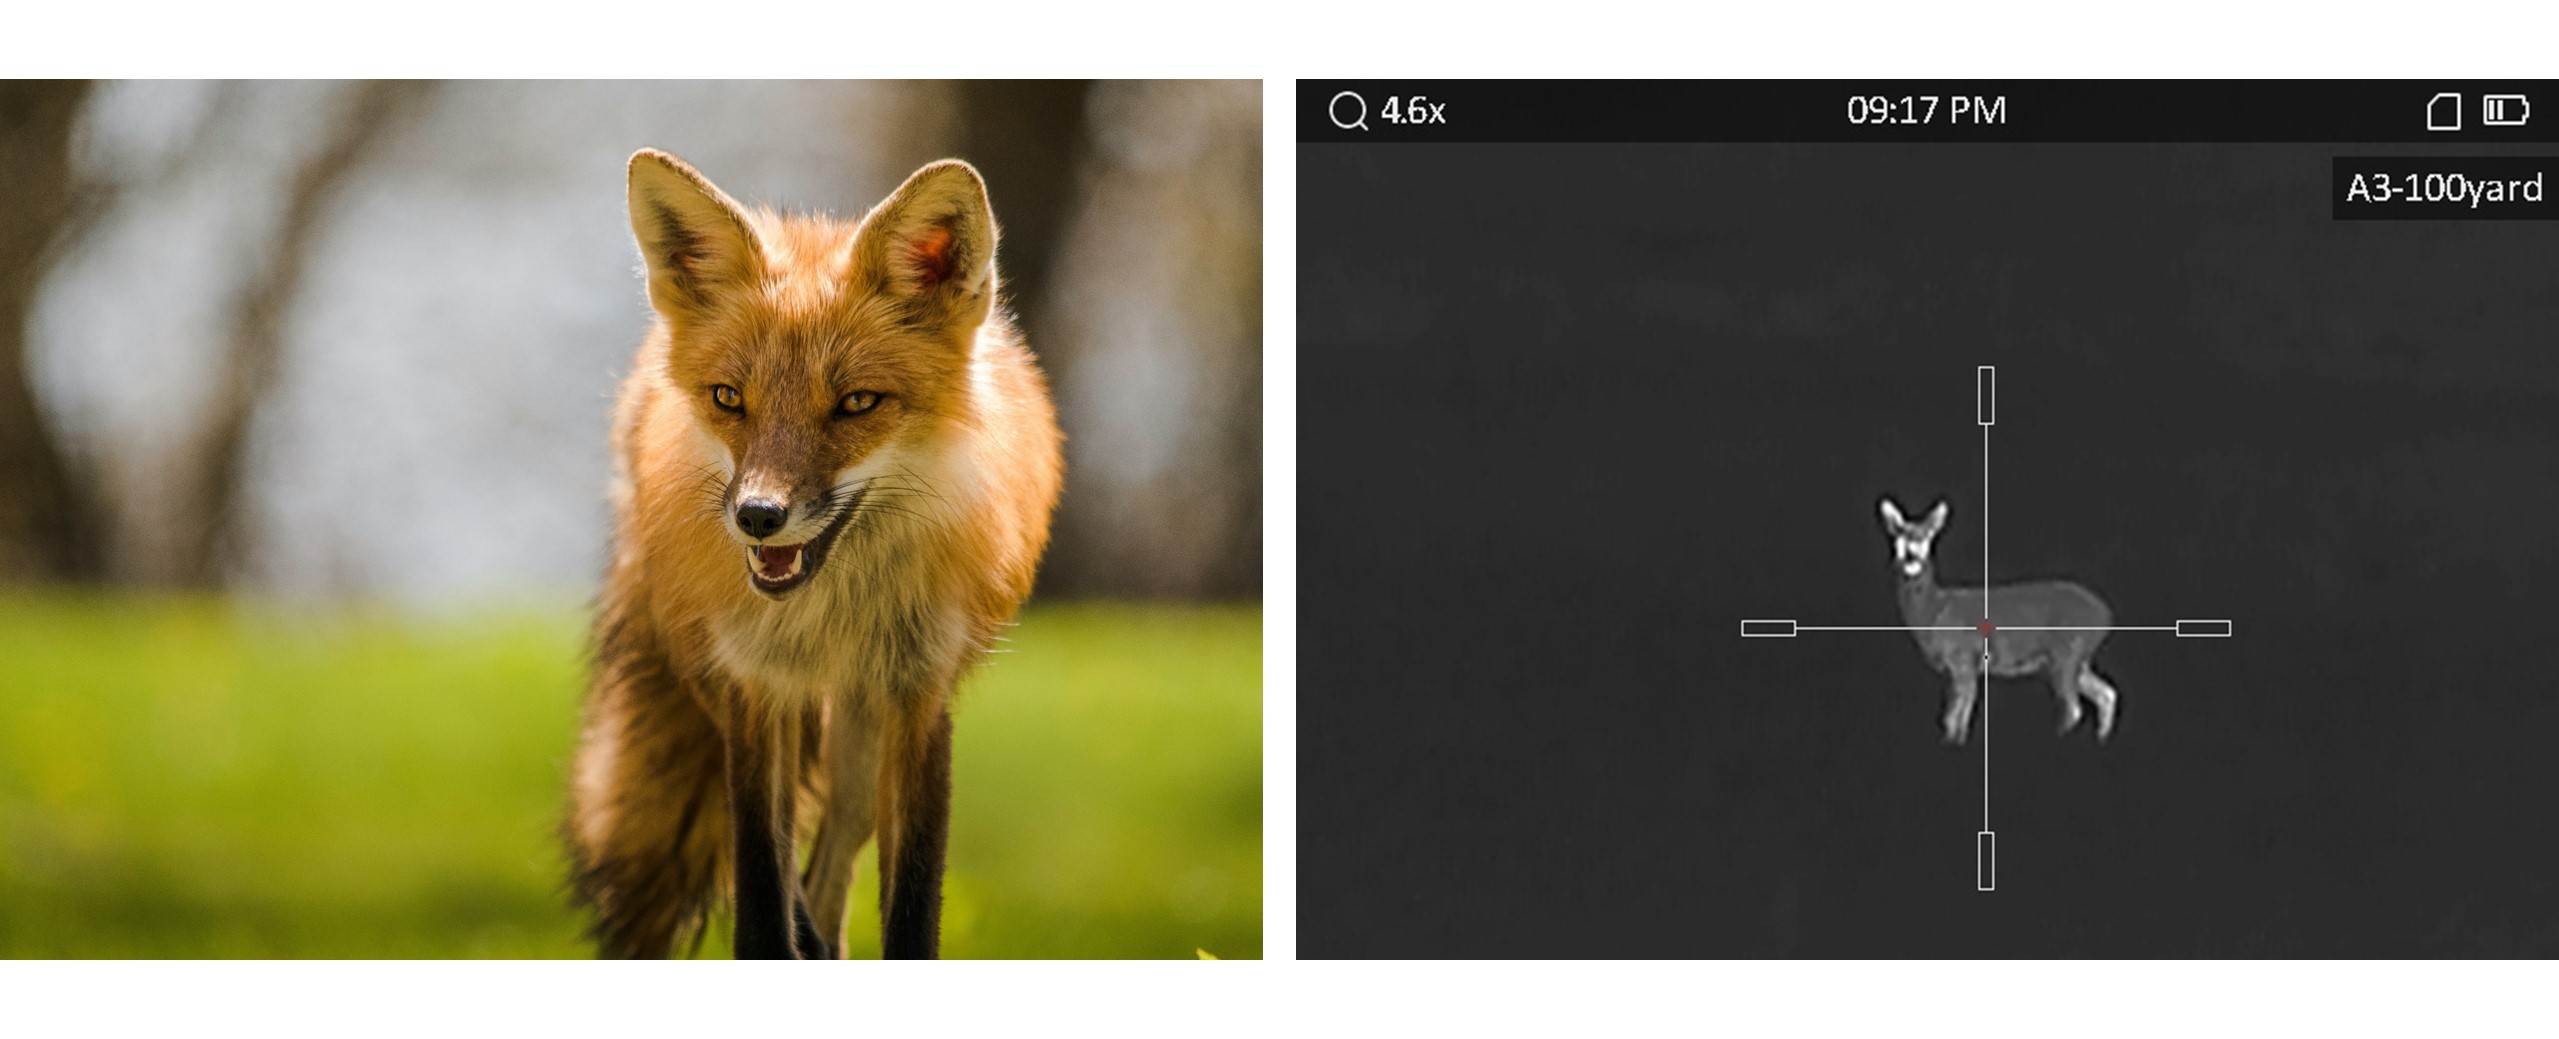
Depending on the scenario, this can be a challenge - especially when using thermal imaging equipment. While there's not much mistaking a rat hiding under a pallet, it's only too easy to mistake a hare for a fox, especially if it's in long grass, or if you can only see the top of its head. Another potential cause for confusion is when you get something like two rabbits sitting next to one another - the combined shapes can then make them appear to be a single, much larger, animal.
Essential Pieces of Gamekeeper Hunting Gear
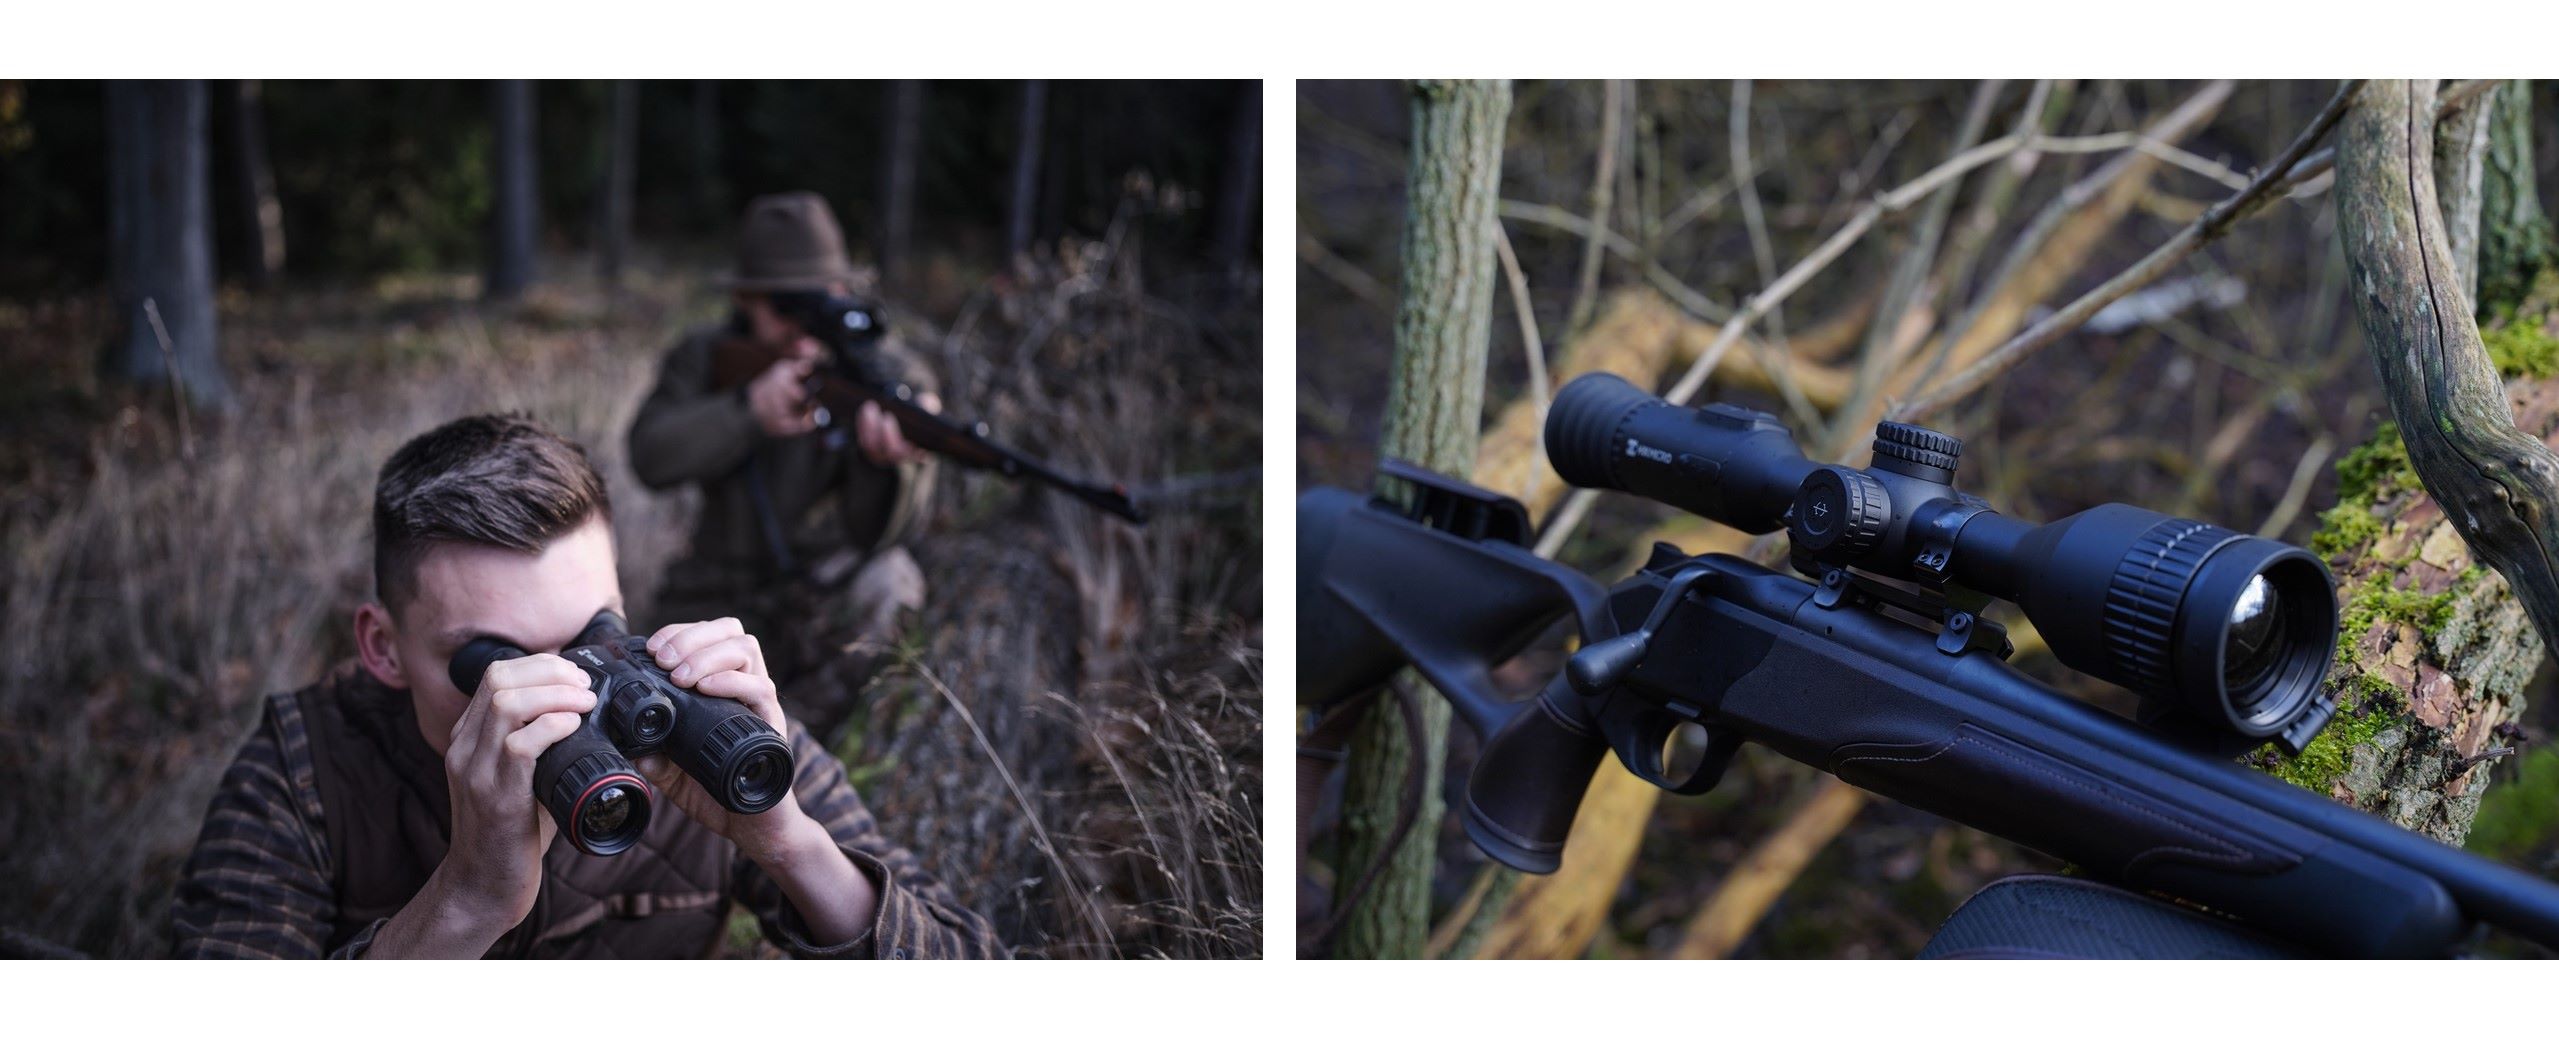
Personally, I use a thermal spotter to find my quarry, and then an NV riflescope to get a positive ID, before actually taking the shot. Having said that, I recently had a chance to use a set of HIKMICRO HABROK binoculars. These are unusual in that they have a thermal channel on one side, and a night vision equivalent on the other. This means that you can locate your quarry with the former, and then switch to the latter for ID confirmation, which is really useful.
When NV is used in combination with an infra red (IR) illuminator, strong eye-shine reflections can result. Although this is often a good indication of the species under observation, it should never be used for final confirmation. Through an IR-assisted NV riflescope, for example, the eyes of hares, owls and cats can all look very similar to those of foxes. Instead, the shot should be withheld until enough of the animal has been seen for a certain ID.
Another issue of great importance is that the equipment should be fully set up before you set out on your hunting session. At the moment that you are satisfied that you have your quarry properly identified, you need to be able to take the shot, not stand around fiddling with adjustments. To this end, the scope should not only be properly zeroed in, but it should already be on the right magnification and focused for the most likely range.
This can never be right 100% of the time - every now and then you will encounter an animal that is much closer, or much further away, than you were expecting. So long as you are confident that you have successfully ID'd the creature in question, the near ones don't tend to be a problem as the focus is unlikely to be that far out, so a quick shot can be taken. Time tends to be less of an issue for anything which is a long way off unless it's about to make it into cover. Hopefully, this means you will have enough time to alter the focus and magnification to suit the situation.
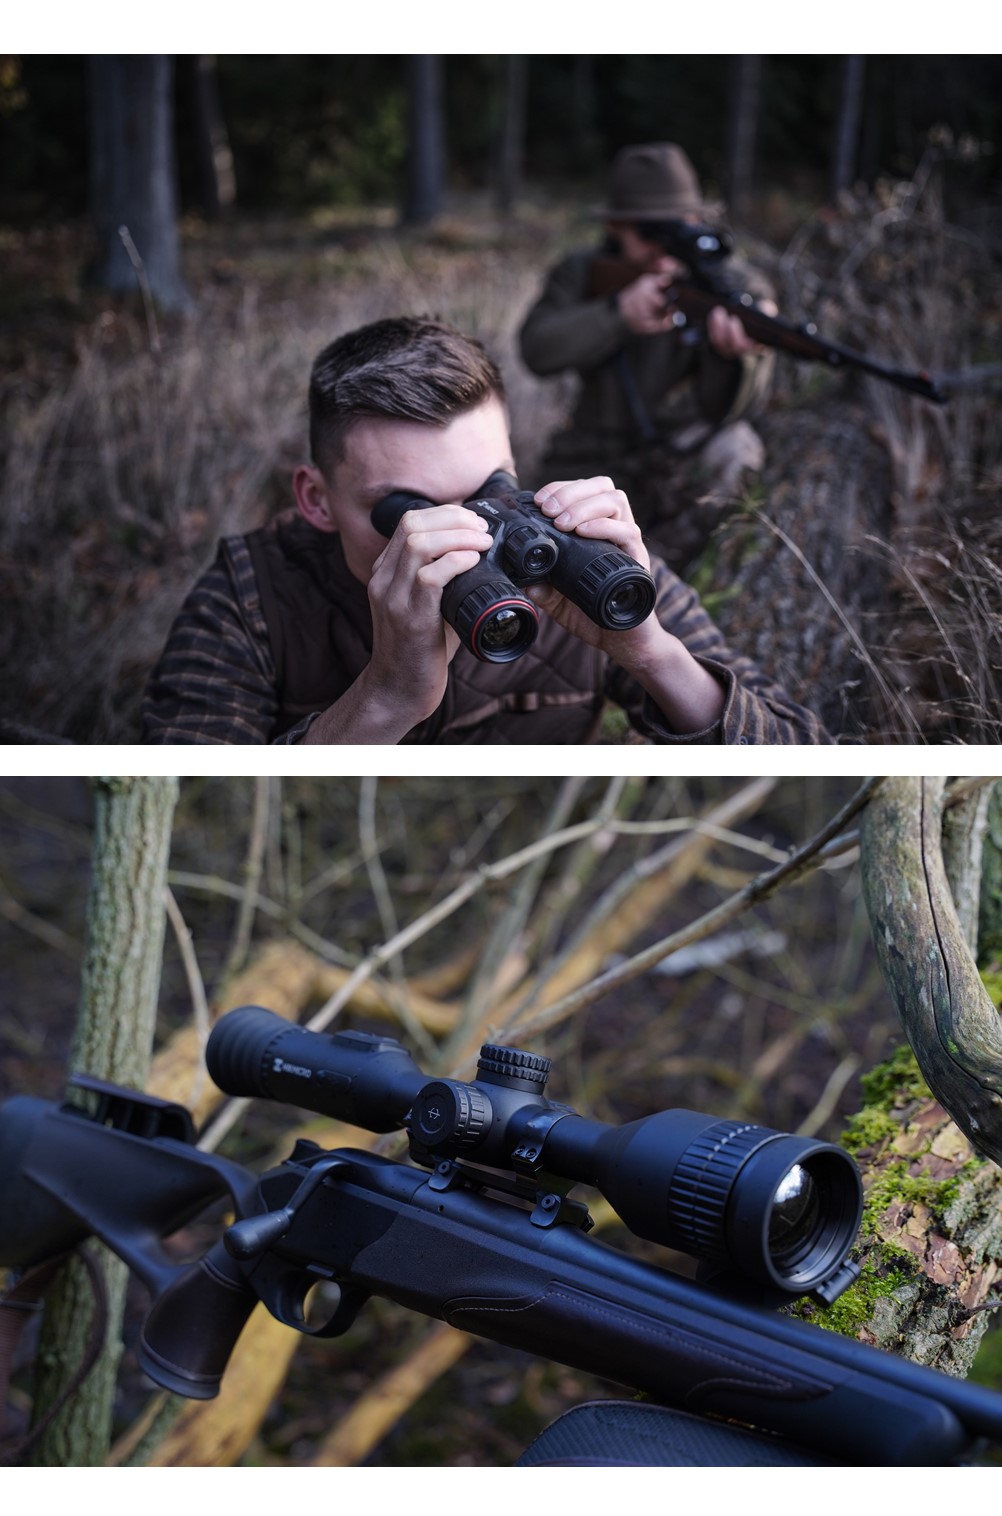
Thermal imaging riflescopes can take a little getting used to - especially where zeroing is concerned. This is because a normal target won't show up on the range. Instead there needs to be something hot to aim at. Heat pads are one solution - they provide sufficient warmth to work nicely. Depending on the make and model of thermal scope involved, you may only need to fire a few shots to get a good zero. Ideally, you aim at the heat source and fire a shot. You then place the reticle's crosshairs over the aim point and by clicking a few buttons, you first freeze the image before incrementally moving them until they sit over the impact point.
This is exactly the manner in which the HIKMICRO STELLAR 2.0 works – a very robustly built thermal imaging riflescope that I recently tested for several months with excellent results. When you're satisfied that you've got the positioning right, you simply save the setting and your rifle is zeroed. A few test shots should then be fired to confirm that all is working as predicted. If no heat pads are available, then anything small and hot will do instead. In the past I've used various alternatives, including steel washers hanging from a nail that I've heated up with a lighter, or my personal preference, which is a small plastic bottle filled with hot water.
It's important to remember that thermal spotters are not limited to use at night. They can also be used during the day for all manner of pest management duties, from finding squirrels hiding high in trees to locating deer lurking in thick cover. They make great carcass-finding tools too - it's amazing just how difficult it can be to work out where an animal you've just shot is lying, especially if there's long grass or some other kind of vegetation in the way. A thermal can really help here - especially if you need to follow a fresh blood trail.
Although some people like to keep their thermal spotters in a side pocket, for the kind of shooting I do - predominantly nocturnal work, a neck sling is indispensable. Worn like a pair of binoculars, it means that if I choose to, I can stop and scan every few steps without any effort. This allows me to move covertly enough to creep into position and get set up without being noticed.
One of the main methods I use for culling foxes is by calling - that is, by placing an electronic caller out in an open area and then broadcasting any one of a long list of prey distress or vulpine communication sounds. While hand or mouth squeaks can work in certain situations - specifically, where you can see the animal in question, I rarely use them. This is because the noise is coming directly from you. Any wily fox - and let's face it, most of them are, will simply circle around on the wind and scent you. Once they know you're there, they'll make good their escape without you ever being aware of their existence.
With an electronic caller, however, any approaching fox will be focusing on where the sound is coming from. Typically, this will have been positioned anywhere from fifty to a hundred metres away, and if sited carefully with respect to the wind, the fox will never know you're there until it's too late. Some callers have a remotely-mounted mute button so that you can pause the call when your quarry runs into the chosen kill zone. A quick dab with the thumb instantly stops the sound, and when this happens, most will freeze to see what's going on. For me, that's the cue to gently squeeze off my shot. Over the years I have accounted for literally thousands of foxes in this way.
How to Improve Your Shooting Accurately in Harsh Conditions?
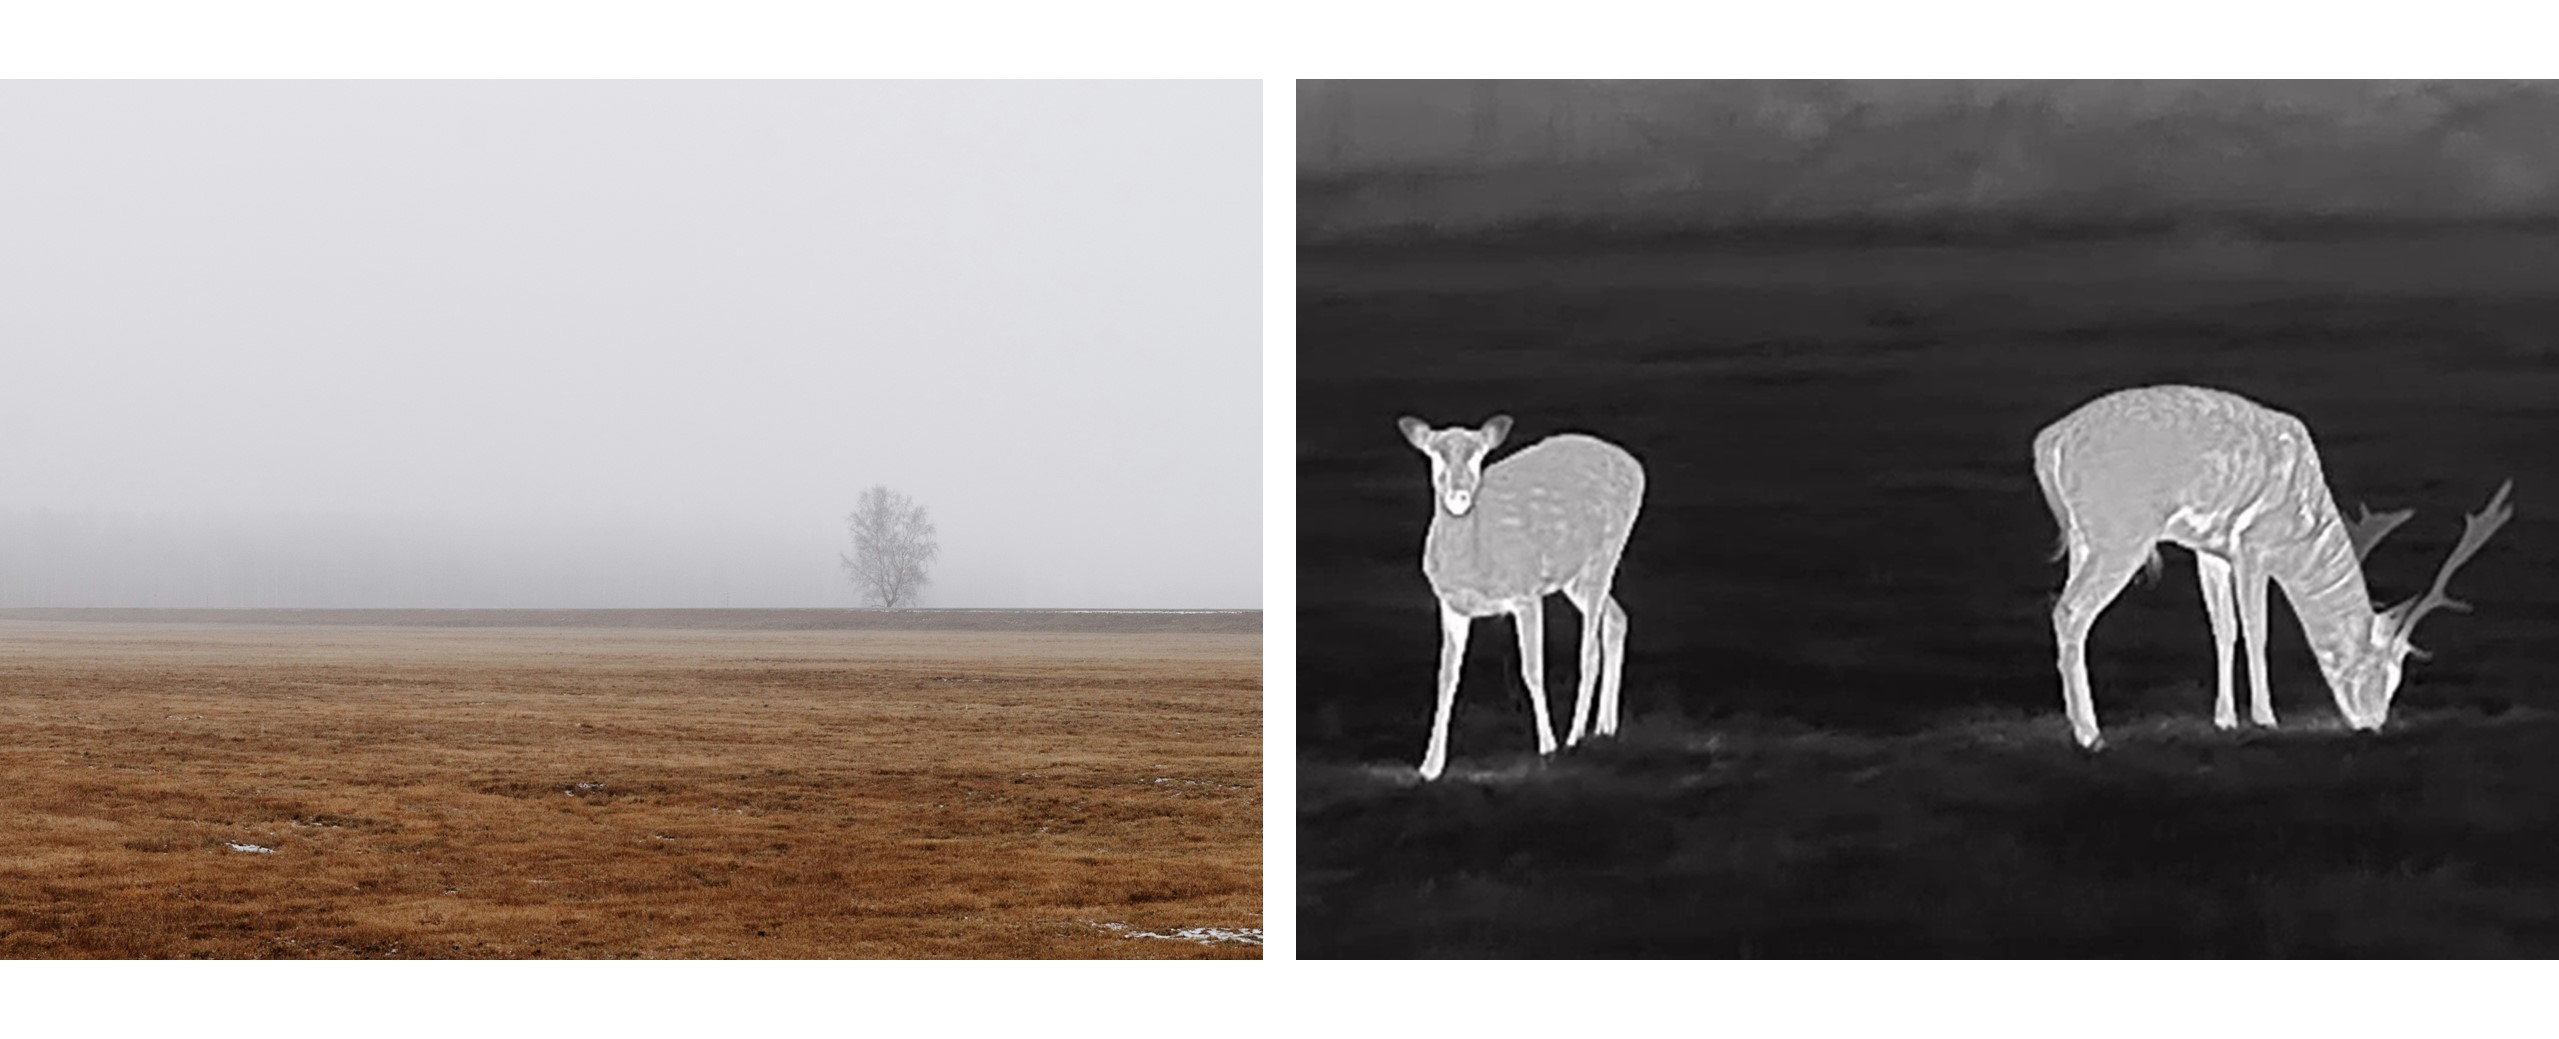
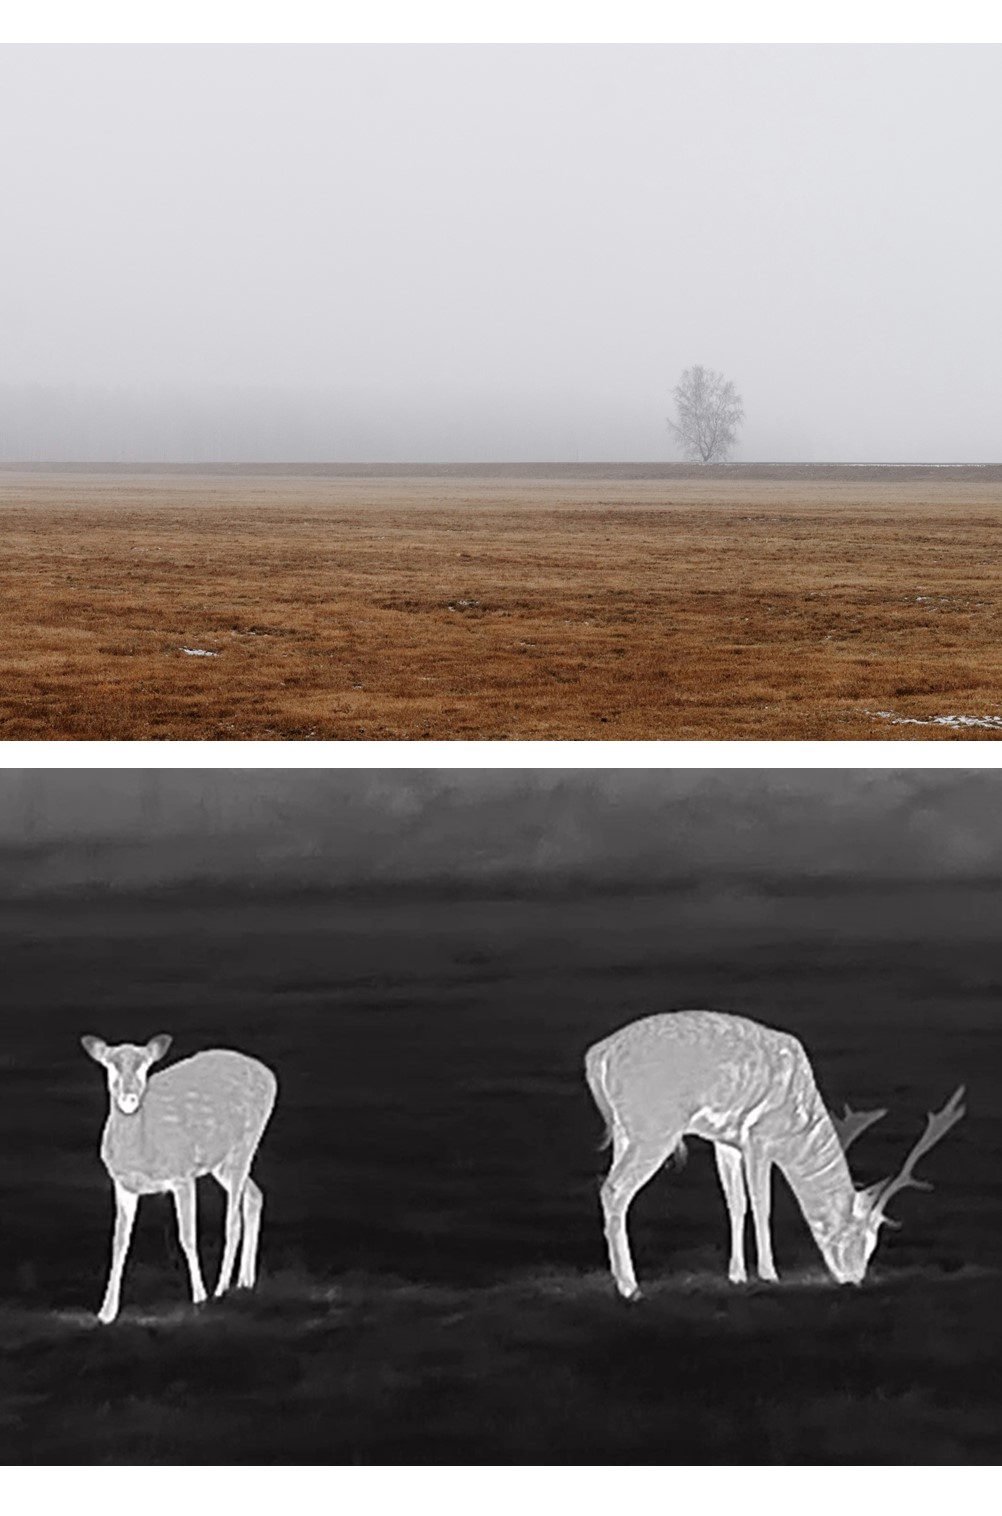
One of the real advantages of thermal equipment is that unlike night vision, it can still be used in thick fog. Admittedly, both the range and performance are reduced, but it still functions well. NV, on the other hand, can be likened to putting your headlights on full beam in such conditions. In other words, the amount of reflected flare from the infra red illuminator makes it pretty well impossible to see anything much beyond the end of your rifle.
NV can still be used if it's only a bit misty, but again, the useable range falls. There is a work-around solution, but it relies on you having a similarly-equipped partner. Basically, you turn your illuminator off, but they leave theirs on - and then light up the target with it. So long as they are standing far enough away from you - say, five metres to one side, they get the flare, but you don't. It's a bit of a long-winded way of doing things, but it certainly works. I once shot a fox just shy of three hundred yards out in conditions that would have been impossible had I been on my own.
Something that a lot of manufacturers set a lot of store in is the maximum magnification that their products can deliver. Sadly, this misses the nub of what night shooting is all about. It's field of view and picture clarity that counts - cranking up the magnification simply amplifies all the blurs, giving you an image that is completely meaningless. Without a decent field of view, trying to find your quarry before it runs off out of sight can be extremely frustrating. Likewise, if you haven't got a really crisp view of the animal in question, how can you possibly know what it is?
To a degree, this takes us back to my earlier point - that of getting your optics properly set up before you head out hunting. Everyone's eyes are different, so matching the adjustments to your visual requirements is critical. The starting point is to make sure that the eyepiece's focus (the rearmost lens) is as good as you can get it. In order to do this, I like to pick a large object - such as a tree, that is, say a hundred yards away. I then pick a part of it that has some specific detail, such as thin branches and point the optical device at them.
I then adjust the eyepiece until I've got the best image I can get, before going to the main focus adjustment and twiddling with that. Once it's set, I then go back to the eyepiece and repeat the procedure - back and forth until I'm happy that I can't improve on it. With this sorted, you should never have to make anything more than very occasional adjustments - unless someone else borrows the device and fiddles around with it, in which case you'll have to start all over again.
Another environmental factor that can seriously disrupt your shooting is rain. Sometimes the best thing is to have a night off, but if there is a specific problem that needs sorting - say a fox is killing pheasant poults, then you may have little option but to head out into a downpour. All is not lost though - the main thing you have to avoid is getting raindrops on the lenses, as these will completely ruin the sight picture, making it impossible to see your quarry. To get around this, all you need is to have a couple of elastic bands - one at each end of the 'scope, and if it starts raining, simply use them to secure a small plastic bag over each optic. Once you're in position and ready to start shooting, just remove them and you're good to go.
One of the valid criticisms with buying expensive electronic equipment is that it can go out of date very quickly. Some of the better manufacturers have provided a solution to this, however, by making it possible to connect your device to the internet so that you can download a newer version of the control program (firmware). This can considerably extend its lifespan, a matter which I personally feel makes the initial cost outlay much more justifiable!
*Antes de adquirir qualquer dispositivo térmico ou digital de visão diurna ou nocturna, certifique-se de que cumpre a legislação local e de que só o utiliza quando permitido pelos regulamentos locais. Os nossos embaixadores vêm de vários países onde são testados diferentes dispositivos. Não encorajamos nem apoiamos de forma alguma a utilização ilegal dos nossos dispositivos.
